
Power sanders are great tools for smoothing large surfaces, removing paint or varnish, or preparing wood for finishing. They can save you a lot of time and effort, but they are not perfect. You will need to hand sand after using a power sander because power sanders can leave swirl marks, scratches, or uneven areas that need to be corrected by hand. Hand sanding can also give you more control over the final appearance and feel of your woodwork.
Power sanders vs hand sanding
Power sanders use a motor to move a sanding pad or disc in a circular or orbital motion. They can remove a lot of material quickly and efficiently, but they also have some drawbacks. Power sanders can create heat and friction that can damage the wood or the finish. They can also leave behind swirl marks, scratches, or uneven areas that are visible to the eye or the touch. These defects can affect the quality and durability of your woodwork, especially if you are applying stain or paint.
Hand sanding, on the other hand, uses a sandpaper or a sanding block to rub the wood in the direction of the grain. Hand sanding can remove the flaws left by power sanders and create a smooth and even surface. Hand sanding can also help you reach the corners, edges, or curves that power sanders cannot. Hand sanding can give you more control over the amount of pressure and the direction of the sanding. Hand sanding can also create a finer and softer finish that enhances the natural beauty and texture of the wood.
How to hand sand after using a power sander
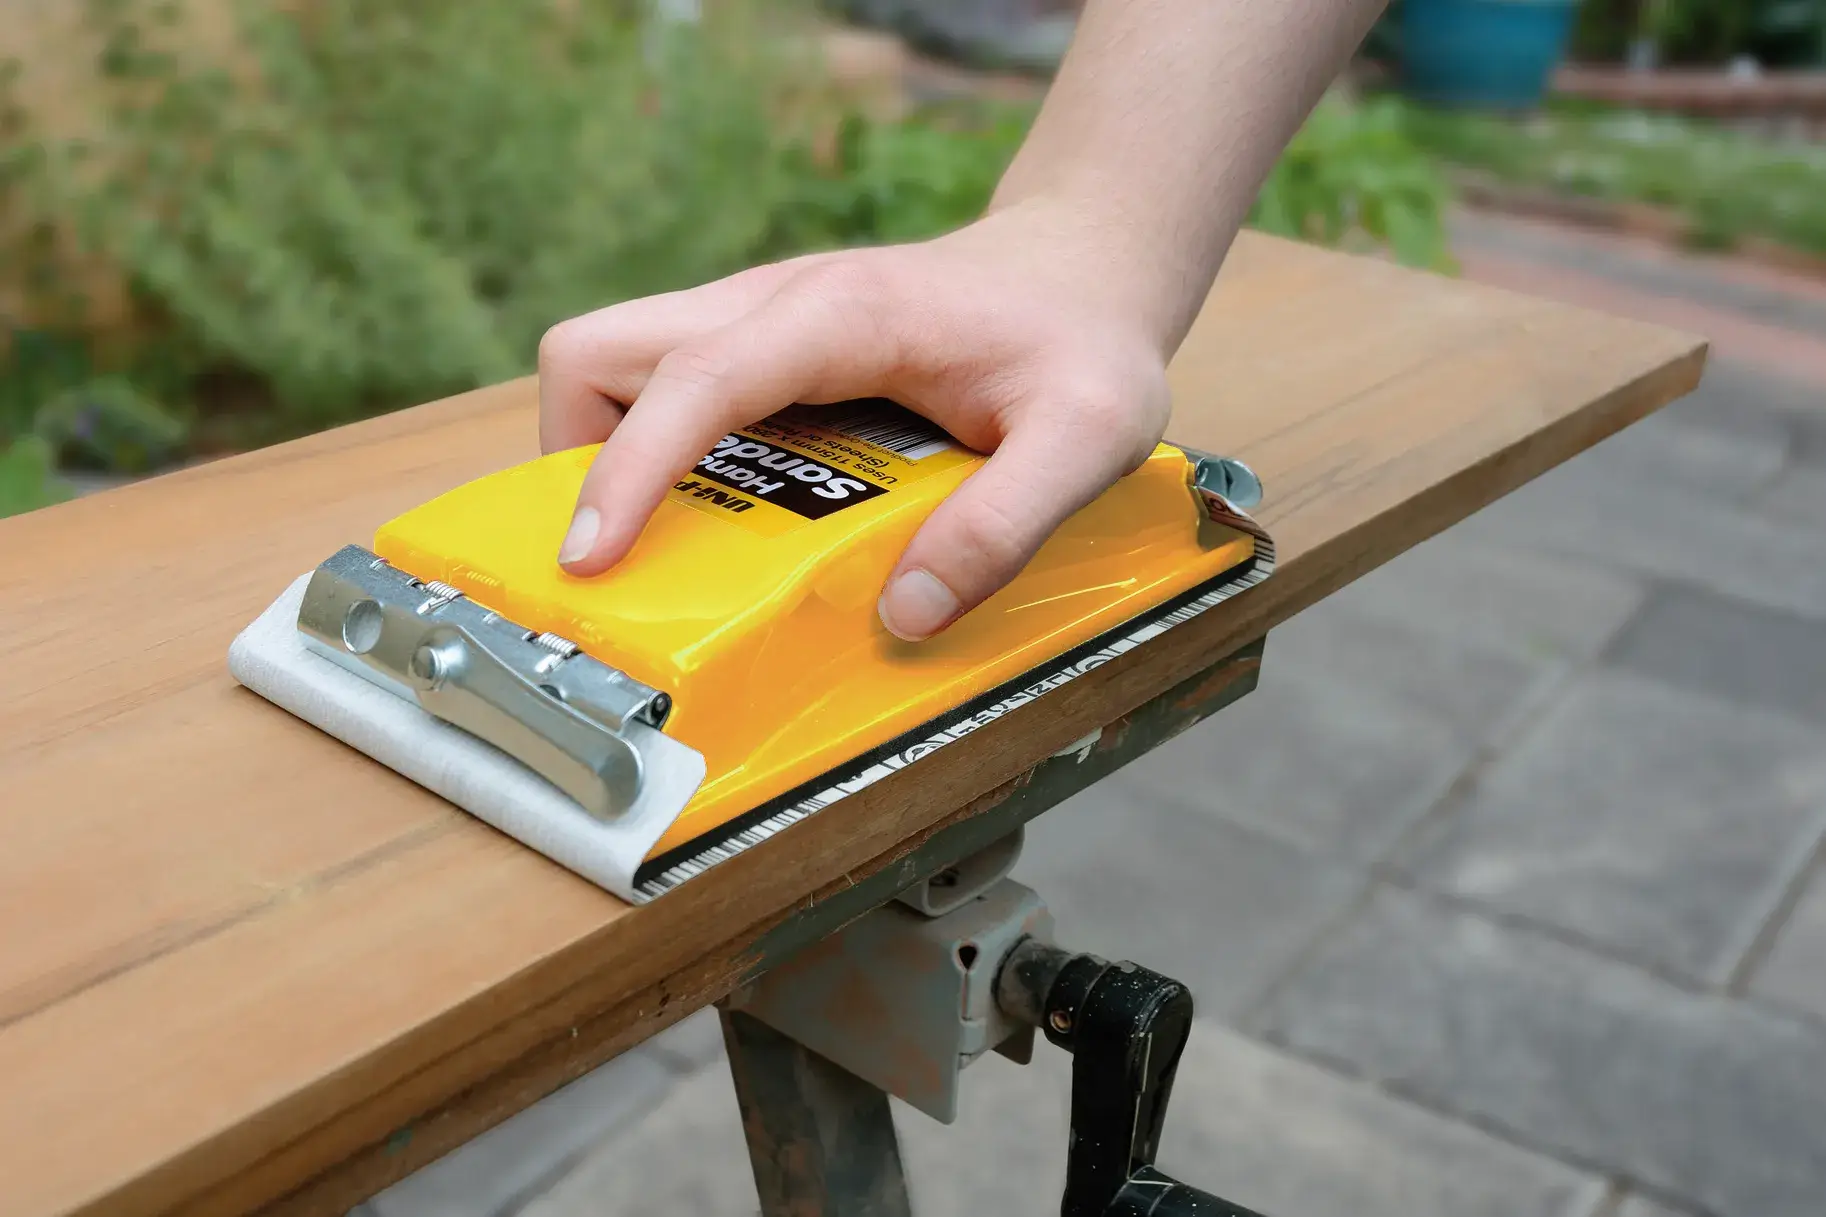
To hand sand after using a power sander, you will need some sandpaper, a sanding block, a tack cloth, and some patience. Here are the steps to follow:
- Choose the right sandpaper. You will need to use a finer grit than the one you used with the power sander. For example, if you used a 120-grit sandpaper with the power sander, you can use a 180-grit or a 220-grit sandpaper for hand sanding. The finer the grit, the smoother the finish.
- Attach the sandpaper to the sanding block. A sanding block is a tool that holds the sandpaper and provides a flat and even surface for sanding. You can buy a sanding block or make your own from a piece of wood or cork. A sanding block can help you avoid creating dips or gouges in the wood.
- Sand the wood in the direction of the grain. Do not sand across or against the grain, as this can create scratches or damage the wood fibers. Use light and even pressure and move the sanding block in long and smooth strokes. Do not sand too much or too hard, as this can remove too much material or create heat and friction. Sand the entire surface, paying attention to the swirl marks, scratches, or uneven areas left by the power sander. Sand the corners, edges, or curves by hand, using a folded piece of sandpaper if necessary.
- Wipe the wood with a tack cloth. A tack cloth is a cloth that is coated with a sticky substance that can remove dust and debris from the wood. Wipe the wood gently with the tack cloth after each sanding, to prevent the dust from clogging the sandpaper or affecting the finish. Do not use a damp cloth or a rag, as this can raise the wood grain or leave streaks or stains.
- Repeat the process with a finer sandpaper if needed. You can use a finer sandpaper to create a smoother and glossier finish, depending on your preference and the type of finish you are applying. For example, you can use a 320-grit or a 400-grit sandpaper for the final hand sanding. However, do not use a sandpaper that is too fine, as this can create a surface that is too smooth and slippery for the finish to adhere properly.
Conclusion
Hand sanding after using a power sander is an essential step for achieving a high-quality and professional-looking woodwork. Hand sanding can correct the flaws left by power sanders and create a smooth and even surface that is ready for the finish. Hand sanding can also give you more control and flexibility over the final appearance and feel of your woodwork. Hand sanding may take some time and effort, but it is worth it for the results. Remember to choose the right sandpaper, use a sanding block, sand in the direction of the grain, wipe the wood with a tack cloth, and repeat the process with a finer sandpaper if needed. Happy sanding!