
A miter saw is a versatile and powerful tool that can make precise and accurate cuts on various materials, such as wood, metal, plastic, and more. A miter saw can be used for a variety of projects, such as framing, molding, trim work, furniture making, and DIY crafts. But what is the most common cut on a miter saw? And how can you make it correctly and safely?
A 90-degree crosscut
The most common cut on a miter saw is a 90-degree crosscut. This is a cut that is made perpendicular to the length of the material, resulting in two equal pieces. A 90-degree crosscut is also known as a square cut, as it produces a right angle at the end of the material.
A 90-degree crosscut is useful for many purposes, such as cutting boards to length, making frames, creating shelves, and more. It is also the basis for other types of cuts, such as miter cuts, bevel cuts, and compound cuts, which are variations of the angle and direction of the cut.
How to make a 90-degree crosscut on a miter saw
To make a 90-degree crosscut on a miter saw, you will need the following tools and materials:
- A miter saw
- A tape measure
- A pencil
- A speed square
- A clamp
- A piece of material to cut
- Safety glasses and gloves
Follow these steps to make a 90-degree crosscut on a miter saw:
- Prepare the material. Measure and mark the length of the cut on the material with a pencil. Use a speed square to draw a straight line across the material at the mark. This will be your cut line.
- Adjust the miter saw. Make sure the miter saw is unplugged and the blade is lowered. Set the miter angle to 0 degrees, which means the blade is aligned with the fence of the saw. Check the blade alignment with the speed square and adjust it if necessary. Plug in the miter saw and raise the blade.
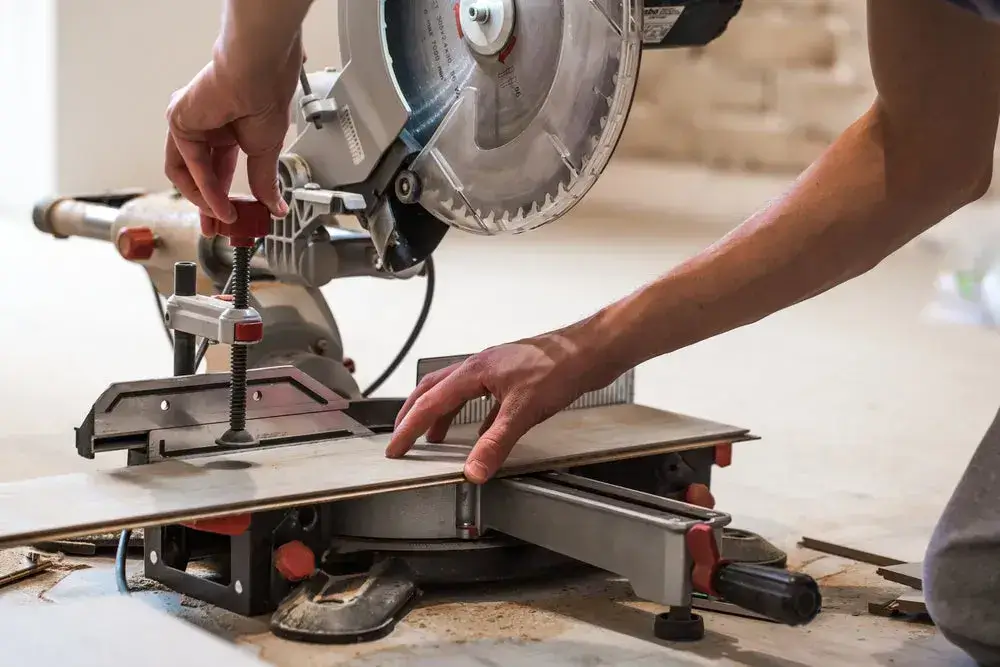
- Position the material. Place the material on the saw table, with the cut line facing the blade. Align the blade with the cut line, making sure the material is flush with the fence. Secure the material with a clamp to prevent it from moving during the cut.
- Make the cut. Put on your safety glasses and gloves. Turn on the miter saw and let the blade reach full speed. Lower the blade slowly and steadily, cutting through the material along the cut line. Do not force the blade or push the material. Let the blade stop completely before raising it. Turn off the miter saw and unplug it. Release the clamp and remove the cut pieces from the saw table.
Tips and tricks for making a 90-degree crosscut on a miter saw
Here are some tips and tricks for making a 90-degree crosscut on a miter saw:
- Use a sharp and clean blade that is suitable for the material you are cutting. A dull or dirty blade can cause splintering, burning, or kickback.
- Use a stop block to make repeated cuts of the same length. A stop block is a piece of wood or metal that is clamped to the fence of the saw, creating a fixed distance from the blade. This way, you can slide the material against the stop block and make consistent cuts without measuring and marking each time.
- Use a dust collector or a shop vac to keep the saw table and the work area clean and safe. A miter saw can produce a lot of dust and debris, which can affect the visibility, accuracy, and quality of the cut. A dust collector or a shop vac can suck up the dust and debris, preventing them from accumulating on the saw or flying into the air.
- Use a support stand or a roller stand to support long or heavy pieces of material. A support stand or a roller stand is a device that can be attached to the saw table or placed next to it, providing a level and stable surface for the material. This can help you balance the material and prevent it from sagging, bending, or twisting during the cut.
Conclusion
A 90-degree crosscut is the most common cut on a miter saw, as it is simple, versatile, and useful for many projects. To make a 90-degree crosscut on a miter saw, you need to measure and mark the material, adjust the miter saw, position the material, and make the cut. You can also use some tips and tricks to improve the accuracy, quality, and safety of the cut. A miter saw is a great tool to have in your workshop, as it can help you create amazing and professional-looking results.