
Painting trim is one of those tasks that can make a big difference in the appearance of your home. Trim is the decorative molding that frames windows, doors, walls, and ceilings. It adds character and style to your rooms, but it can also get dirty, scuffed, or faded over time. That’s why it’s important to know how to paint trim properly, so you can refresh your space and make it look new again.
The basic steps for painting trim are: prepare the surface, apply primer, paint the trim, and clean up. However, there are some tips and tricks that can help you achieve a professional-looking result, without spending too much time or money. In this article, we will show you how to paint trim like a pro, using the right tools, techniques, and products. Follow along and you’ll be amazed by the transformation!
Prepare the Surface
The first step for painting trim is to prepare the surface. This means removing any dirt, dust, grease, or stains that might affect the adhesion or appearance of the paint. You can use a damp cloth, a sponge, or a mild detergent to wipe down the trim. If there are any holes, cracks, or gaps in the trim, you’ll need to fill them with wood filler or caulk, and let them dry completely. Then, you’ll need to sand the trim lightly, using a fine-grit sandpaper or a sanding sponge, to smooth out any rough spots and create a slightly rough surface for the paint to stick to. You don’t need to remove the old paint completely, unless it’s peeling or flaking. After sanding, wipe off the dust with a tack cloth or a damp rag.
Apply Primer
The next step for painting trim is to apply primer. Primer is a special type of paint that seals the surface and provides a base for the topcoat. Primer helps the paint adhere better, covers any stains or imperfections, and improves the durability and appearance of the paint. You can use a brush, a roller, or a sprayer to apply primer, depending on the size and shape of the trim. You should use a high-quality primer that is compatible with the type of paint you’re using, and follow the manufacturer’s instructions for application and drying time. Generally, you’ll need to apply one or two coats of primer, depending on the color and condition of the trim. You should also mask off any areas that you don’t want to paint, such as the walls, the floor, or the windows, using painter’s tape and plastic sheets.
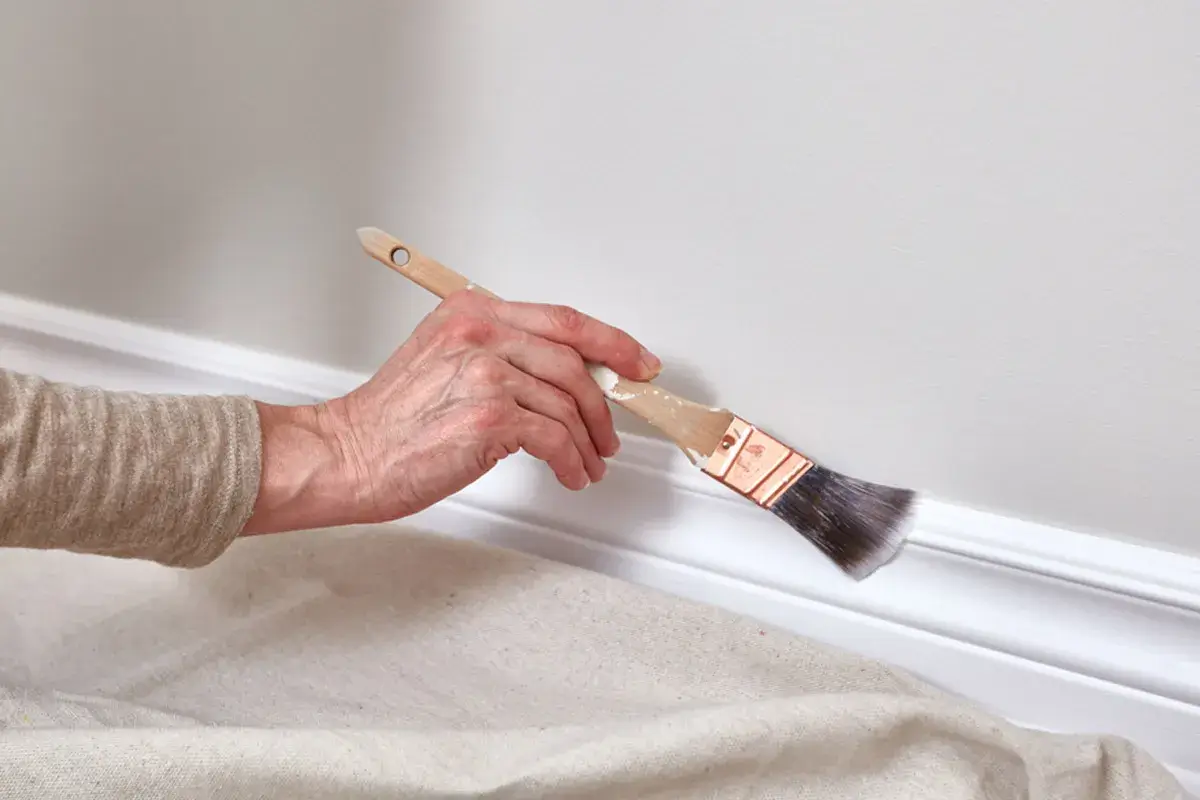
Paint the Trim
The final step for painting trim is to paint the trim. You can use any color and finish of paint that you like, but there are some things to consider when choosing the paint. First, you should use a paint that is designed for trim, such as semi-gloss or gloss paint, which are more durable, washable, and resistant to scratches and stains. Second, you should use a paint that matches or complements the color of the walls, the furniture, and the decor of the room. Third, you should use a paint that is suitable for the material of the trim, such as latex paint for wood trim, or oil-based paint for metal trim. You should also use a high-quality paint that has good coverage, consistency, and flow.
To paint the trim, you’ll need a good brush, a roller, or a sprayer, depending on the size and shape of the trim. You should use a brush that is angled, tapered, and has synthetic bristles, which are easier to control and clean. You should use a roller that is small, narrow, and has a low nap, which are ideal for smooth surfaces and tight spaces. You should use a sprayer that is adjustable, powerful, and has a fine nozzle, which are perfect for large areas and even coverage. You should also use a paint tray, a paint bucket, or a paint cup, depending on the tool you’re using, to hold and transfer the paint.
To paint the trim, you should start from the top and work your way down, following the direction of the wood grain or the shape of the trim. You should apply the paint in thin, even coats, using smooth and steady strokes. You should avoid overloading the brush, the roller, or the sprayer, to prevent drips, runs, or sags. You should also avoid brushing or rolling over wet paint, to prevent brush marks, roller marks, or lap marks. You should let the paint dry completely between coats, and apply as many coats as needed to achieve the desired color and coverage. Generally, you’ll need to apply two or three coats of paint, depending on the color and quality of the paint.
Clean Up
The last step for painting trim is to clean up. This means removing the painter’s tape and the plastic sheets, and disposing of them properly. It also means cleaning the tools and the equipment, and storing them for future use. You should clean the brush, the roller, or the sprayer, using water or mineral spirits, depending on the type of paint you used. You should also clean the paint tray, the paint bucket, or the paint cup, using the same method. You should rinse and dry the tools and the equipment thoroughly, and wrap them in plastic bags or foil, to keep them from drying out or getting dirty. You should also clean any spills, splatters, or drips that might have occurred on the floor, the walls, or the furniture, using a damp cloth or a sponge, and a mild detergent or a solvent, depending on the type of paint you used.
Conclusion
Painting trim is a simple and effective way to update and enhance your home. By following these steps, you can paint trim like a pro, and achieve a flawless and beautiful result. All you need are the right tools, techniques, and products, and some time and patience. You’ll be surprised by how much difference a fresh coat of paint can make on your trim, and how much it can improve the look and feel of your rooms. So, what are you waiting for? Grab your paint and get started!