
Painting your kitchen cabinets can be a great way to give your kitchen a fresh and modern look, without spending a fortune on new cabinets. Painting your cabinets can also help you customize your kitchen to suit your personal style and preferences. However, painting your cabinets is not a simple task, and it requires some preparation, patience, and skill to achieve a professional and durable result. In this article, we will show you how to paint your kitchen cabinets in a step-by-step guide, covering everything from choosing the right paint and tools, to preparing your cabinets, to applying the paint and finishing touches.
The answer to how to paint kitchen cabinets is: choose the right paint and tools, prepare your cabinets, apply primer and paint, and add finishing touches.
Before you start painting your cabinets, you need to choose the right paint and tools for the job. The type of paint you use will depend on the material and condition of your cabinets, as well as the look you want to achieve. Generally, you want to use a paint that is durable, washable, and resistant to stains and scratches, such as latex, acrylic, or oil-based paint. You also want to choose a paint that has a low or no VOC (volatile organic compound) content, to avoid harmful fumes and odors.
The color and finish of the paint are also important factors to consider. You can choose any color that matches your kitchen’s theme and style, but keep in mind that lighter colors will make your kitchen look more spacious and bright, while darker colors will create a more cozy and dramatic effect. The finish of the paint will affect the appearance and maintenance of your cabinets. You can choose from matte, satin, semi-gloss, or gloss finish, depending on your preference. Matte finish will give your cabinets a smooth and elegant look, but it will also show more dirt and fingerprints. Satin finish will give your cabinets a soft and velvety look, and it is easy to clean and maintain. Semi-gloss finish will give your cabinets a shiny and sleek look, and it is also durable and stain-resistant. Gloss finish will give your cabinets a glossy and reflective look, but it will also highlight any imperfections and flaws.
The tools you need to paint your cabinets include:
- A screwdriver or drill to remove the cabinet doors, drawers, and hardware
- A drop cloth or plastic sheet to protect your floor and countertops
- A degreaser or cleaner to clean your cabinets
- A sandpaper or sander to smooth your cabinets
- A tack cloth or damp rag to wipe off any dust
- A painter’s tape to mask off any areas you don’t want to paint
- A primer to prepare your cabinets for painting
- A paintbrush or roller to apply the primer and paint
- A paint tray or bucket to hold the primer and paint
- A paint stirrer to mix the primer and paint
- A paint can opener to open the primer and paint cans
- A hammer and nails to reattach the cabinet doors, drawers, and hardware
Once you have chosen the right paint and tools, you are ready to prepare your cabinets for painting. The preparation process involves:
- Removing the cabinet doors, drawers, and hardware, and labeling them with masking tape and a marker to remember where they belong
- Placing the cabinet doors, drawers, and hardware on a drop cloth or plastic sheet in a well-ventilated area
- Cleaning your cabinets with a degreaser or cleaner to remove any grease, dirt, and grime
- Sanding your cabinets with a sandpaper or sander to remove any old paint, varnish, or gloss, and to create a smooth and even surface
- Wiping off any dust with a tack cloth or damp rag
- Applying a painter’s tape to mask off any areas you don’t want to paint, such as hinges, knobs, handles, or edges
- Applying a primer to your cabinets with a paintbrush or roller, following the manufacturer’s instructions and covering the entire surface evenly
- Letting the primer dry completely, according to the manufacturer’s instructions
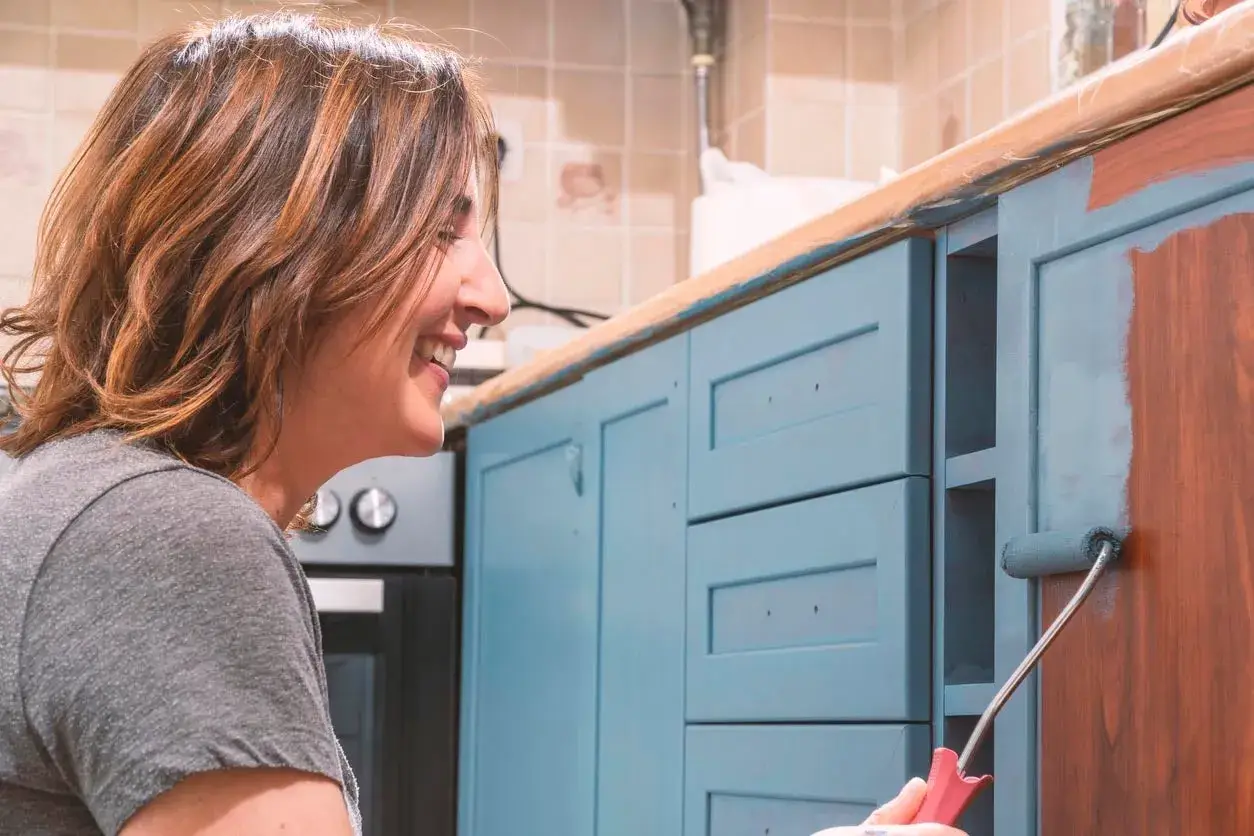
After preparing your cabinets, you can start painting them with the paint of your choice. The painting process involves:
- Stirring the paint with a paint stirrer to ensure a smooth and consistent color
- Pouring the paint into a paint tray or bucket
- Dipping a paintbrush or roller into the paint, and wiping off any excess paint on the edge of the tray or bucket
- Applying the paint to your cabinets with a paintbrush or roller, starting from the center and working your way out, using smooth and even strokes, and following the direction of the wood grain
- Applying a second coat of paint if needed, after letting the first coat dry completely, according to the manufacturer’s instructions
- Letting the paint dry completely, according to the manufacturer’s instructions
The final step of painting your cabinets is adding the finishing touches. The finishing touches involve:
- Removing the painter’s tape carefully, and touching up any areas that need more paint or correction
- Reattaching the cabinet doors, drawers, and hardware, using a hammer and nails, and aligning them properly
- Cleaning up any spills, drips, or messes with a damp rag or sponge
- Enjoying your newly painted kitchen cabinets!
Painting your kitchen cabinets can be a rewarding and cost-effective way to transform your kitchen and give it a new look. By following this step-by-step guide, you can paint your kitchen cabinets like a pro, and achieve a beautiful and lasting result. However, if you are not confident or experienced in painting, or if you have a large or complex project, you may want to hire a professional painter to do the job for you. A professional painter will have the skills, tools, and expertise to paint your kitchen cabinets efficiently and effectively, and to ensure a high-quality and satisfactory outcome.
We hope this article has helped you learn how to paint kitchen cabinets, and inspired you to try it yourself. If you have any questions, comments, or feedback, please feel free to share them with us. We would love to hear from you! Thank you for reading, and happy painting!