
Painting a room can be a fun and rewarding project that can transform the look and feel of your space. Whether you want to refresh an old color, add some personality, or create a new mood, painting a room can make a big difference. But how do you paint a room properly? What are the steps and tools you need to get the job done? In this article, we will show you how to paint a room from start to finish, with tips and tricks to make the process easier and more enjoyable.
To paint a room, you need to prepare the surface, choose the paint and tools, apply the primer and paint, and clean up.
This is the basic outline of how to paint a room, but there are more details and nuances that you need to know to get the best results. Let’s dive into each step and see what you need to do.
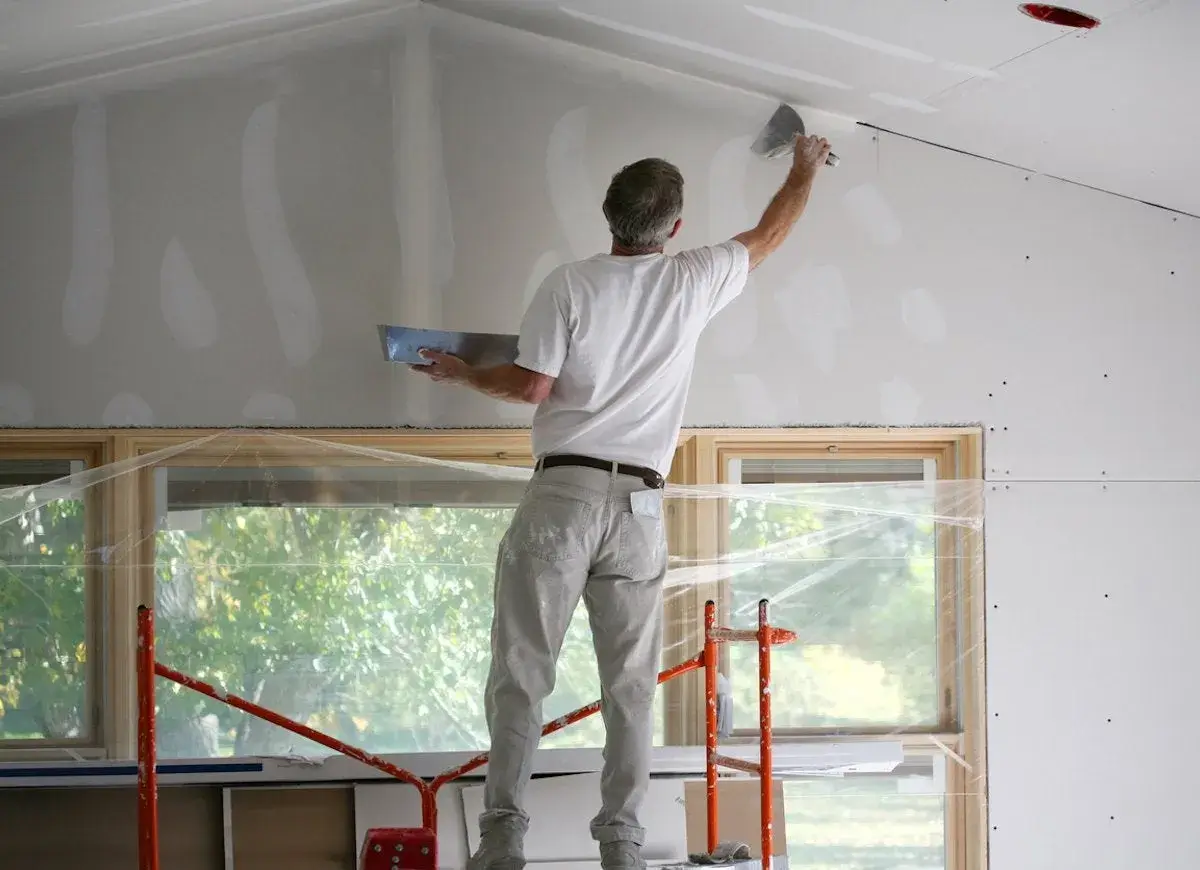
Step 1: Prepare the Surface
Before you start painting, you need to make sure that the surface you are going to paint is clean, smooth, and dry. This will ensure that the paint adheres well and looks even. To prepare the surface, you need to:
- Remove any furniture, curtains, rugs, or other items from the room, or cover them with drop cloths or plastic sheets to protect them from paint splatters.
- Remove any nails, screws, hooks, or other hardware from the walls, and fill any holes or cracks with spackling compound. Let it dry and sand it smooth.
- Wash the walls with a mild detergent and water, or use a degreaser if the walls are greasy or stained. Rinse and let them dry completely.
- Remove any dust or cobwebs from the walls, ceiling, and trim with a vacuum or a damp cloth.
- Tape off any areas that you don’t want to paint, such as baseboards, moldings, windows, doors, switches, or outlets. Use painter’s tape that is easy to remove and won’t damage the surface.
Step 2: Choose the Paint and Tools
The next step is to choose the paint and tools that you will use to paint the room. There are many factors to consider when choosing the paint, such as:
- The color: The color of the paint can affect the mood, atmosphere, and style of the room. You can use a color wheel, a paint swatch, or a paint app to help you choose the right color for your space. You can also test the color on a small area of the wall before you buy the paint, to see how it looks in different lighting conditions.
- The finish: The finish of the paint refers to how shiny or matte it is. The finish can affect the durability, appearance, and maintenance of the paint. Generally, there are four types of finish: flat, eggshell, satin, and gloss. Flat finish is the least shiny and the most forgiving of imperfections, but it is also the least durable and the hardest to clean. Eggshell finish is slightly shiny and more durable than flat, but still easy to touch up. Satin finish is moderately shiny and durable, and good for high-traffic areas. Gloss finish is the most shiny and durable, but it also highlights every flaw and requires more preparation and skill to apply.
- The quality: The quality of the paint can affect the coverage, performance, and longevity of the paint. Higher quality paint usually has more pigments, binders, and additives that make it more resistant to fading, cracking, peeling, and staining. Higher quality paint also tends to be more expensive, but it can save you money and time in the long run, as you may need fewer coats and less maintenance.
- The quantity: The quantity of paint you need depends on the size of the room, the number of coats, and the type of paint. A general rule of thumb is to multiply the length and height of each wall, add them together, and divide by 350. This will give you the approximate number of square feet that one gallon of paint can cover. However, this may vary depending on the texture, color, and condition of the walls. You can also use a paint calculator online to help you estimate the amount of paint you need.
Besides the paint, you also need to choose the tools that you will use to apply the paint, such as:
- Brushes: Brushes are used to cut in the edges and corners of the walls, ceiling, and trim. You need to choose the right size, shape, and material of the brush for the best results. Generally, you want to use a 2-inch or 3-inch angled brush for cutting in, and a synthetic bristle brush for water-based paint, and a natural bristle brush for oil-based paint.
- Rollers: Rollers are used to cover the large areas of the walls and ceiling. You need to choose the right size, nap, and material of the roller for the best results. Generally, you want to use a 9-inch or 12-inch roller for the walls and ceiling, and a 3/8-inch or 1/2-inch nap for smooth or slightly textured surfaces, and a 3/4-inch or 1-inch nap for rough or textured surfaces. You also need to use a synthetic roller cover for water-based paint, and a natural roller cover for oil-based paint.
- Trays: Trays are used to hold the paint and load the brushes and rollers. You need to choose a tray that is large enough to fit your roller, and has a ribbed or textured surface to help distribute the paint evenly. You can also use a tray liner or a disposable tray for easy cleanup.
- Extension poles: Extension poles are used to attach to the rollers and reach the high areas of the walls and ceiling. You need to choose an extension pole that is sturdy, adjustable, and comfortable to use.
Step 3: Apply the Primer and Paint
The third step is to apply the primer and paint to the surface. Primer is a preparatory coating that helps the paint adhere better, cover better, and last longer. Paint is the final coating that gives the color and finish to the surface. To apply the primer and paint, you need to:
- Stir the primer and paint well before using them, and pour some into the tray.
- Start with the ceiling, and work your way down to the walls and trim. Use the brush to cut in the edges and corners, and the roller to fill in the rest. Use smooth and even strokes, and overlap the edges slightly to avoid lines and marks. Work in small sections, and keep a wet edge to prevent the paint from drying too fast and creating lap marks.
- Apply one coat of primer, and let it dry completely according to the manufacturer’s instructions. The primer may look patchy or uneven, but that is normal and will be covered by the paint.
- Apply two coats of paint, and let each coat dry completely according to the manufacturer’s instructions. The paint should look smooth and uniform, and cover the primer and the original color completely. If you see any spots or streaks, you may need to apply another coat or touch up the areas with a brush.
- Remove the painter’s tape carefully before the paint dries completely, to avoid peeling off the paint. Pull the tape at a 45-degree angle, and use a utility knife to score the edge if needed.
Step 4: Clean Up
The last step is to clean up the tools and the room. To clean up, you need to:
- Dispose of any leftover paint or primer properly, according to the local regulations. Do not pour them down the drain or into the trash. You can store them in airtight containers for future use, or donate them to a local recycling center or charity.
- Clean the brushes and rollers with water and soap for water-based paint, or with mineral spirits or paint thinner for oil-based paint. Rinse and dry them thoroughly, and store them in their original packaging or in plastic bags.
- Clean the trays and other tools with water and soap or with mineral spirits or paint thinner, depending on the type of paint. Rinse and dry them thoroughly, and store them in a safe place.
- Remove any drop cloths or plastic sheets from the room, and fold or roll them up carefully to avoid spilling any paint. Dispose of them properly, or wash and reuse them for future projects.
- Replace any furniture, curtains, rugs, or other items that you removed from the room, and enjoy your newly painted room.
Conclusion
Painting a room can be a fun and rewarding project that can transform the look and feel of your space. By following these steps and tips, you can paint a room like a pro, and achieve the best results. Remember to prepare the surface, choose the paint and tools, apply the primer and paint, and clean up. You can also experiment with different colors, finishes, and techniques to create your own style and personality. Happy painting! 🎨