
A miter saw is a versatile and precise tool that can make crosscuts, miters, bevels, and compound cuts in wood and other materials. It is an essential tool for any carpenter, woodworker, or DIY enthusiast who wants to create accurate and professional-looking joints and finishes. But how do you know which miter saw to buy? There are many types, features, and specifications to consider, and choosing the wrong one can result in wasted time, money, and materials.
The correct answer is: You need to consider the type, size, power, capacity, and features of the miter saw, as well as your budget, skill level, and project needs.
In this article, we will explain the different types of miter saws, their pros and cons, and how to choose the right one for your projects. We will also provide some tips and recommendations on how to use and maintain your miter saw safely and efficiently.
Types of Miter Saws
Miter saws can be classified into four main types: basic, compound, sliding, and cordless. Each type has its own advantages and disadvantages, depending on the kind of cuts and projects you want to do.
Basic Miter Saw
A basic miter saw is the simplest and cheapest type of miter saw. It can make crosscuts and miter cuts up to 45 degrees to the left and right, but it cannot tilt or slide. It is good for making simple and repetitive cuts, such as picture frames, baseboards, and crown moldings. However, it has limited cutting capacity and cannot make bevel or compound cuts.
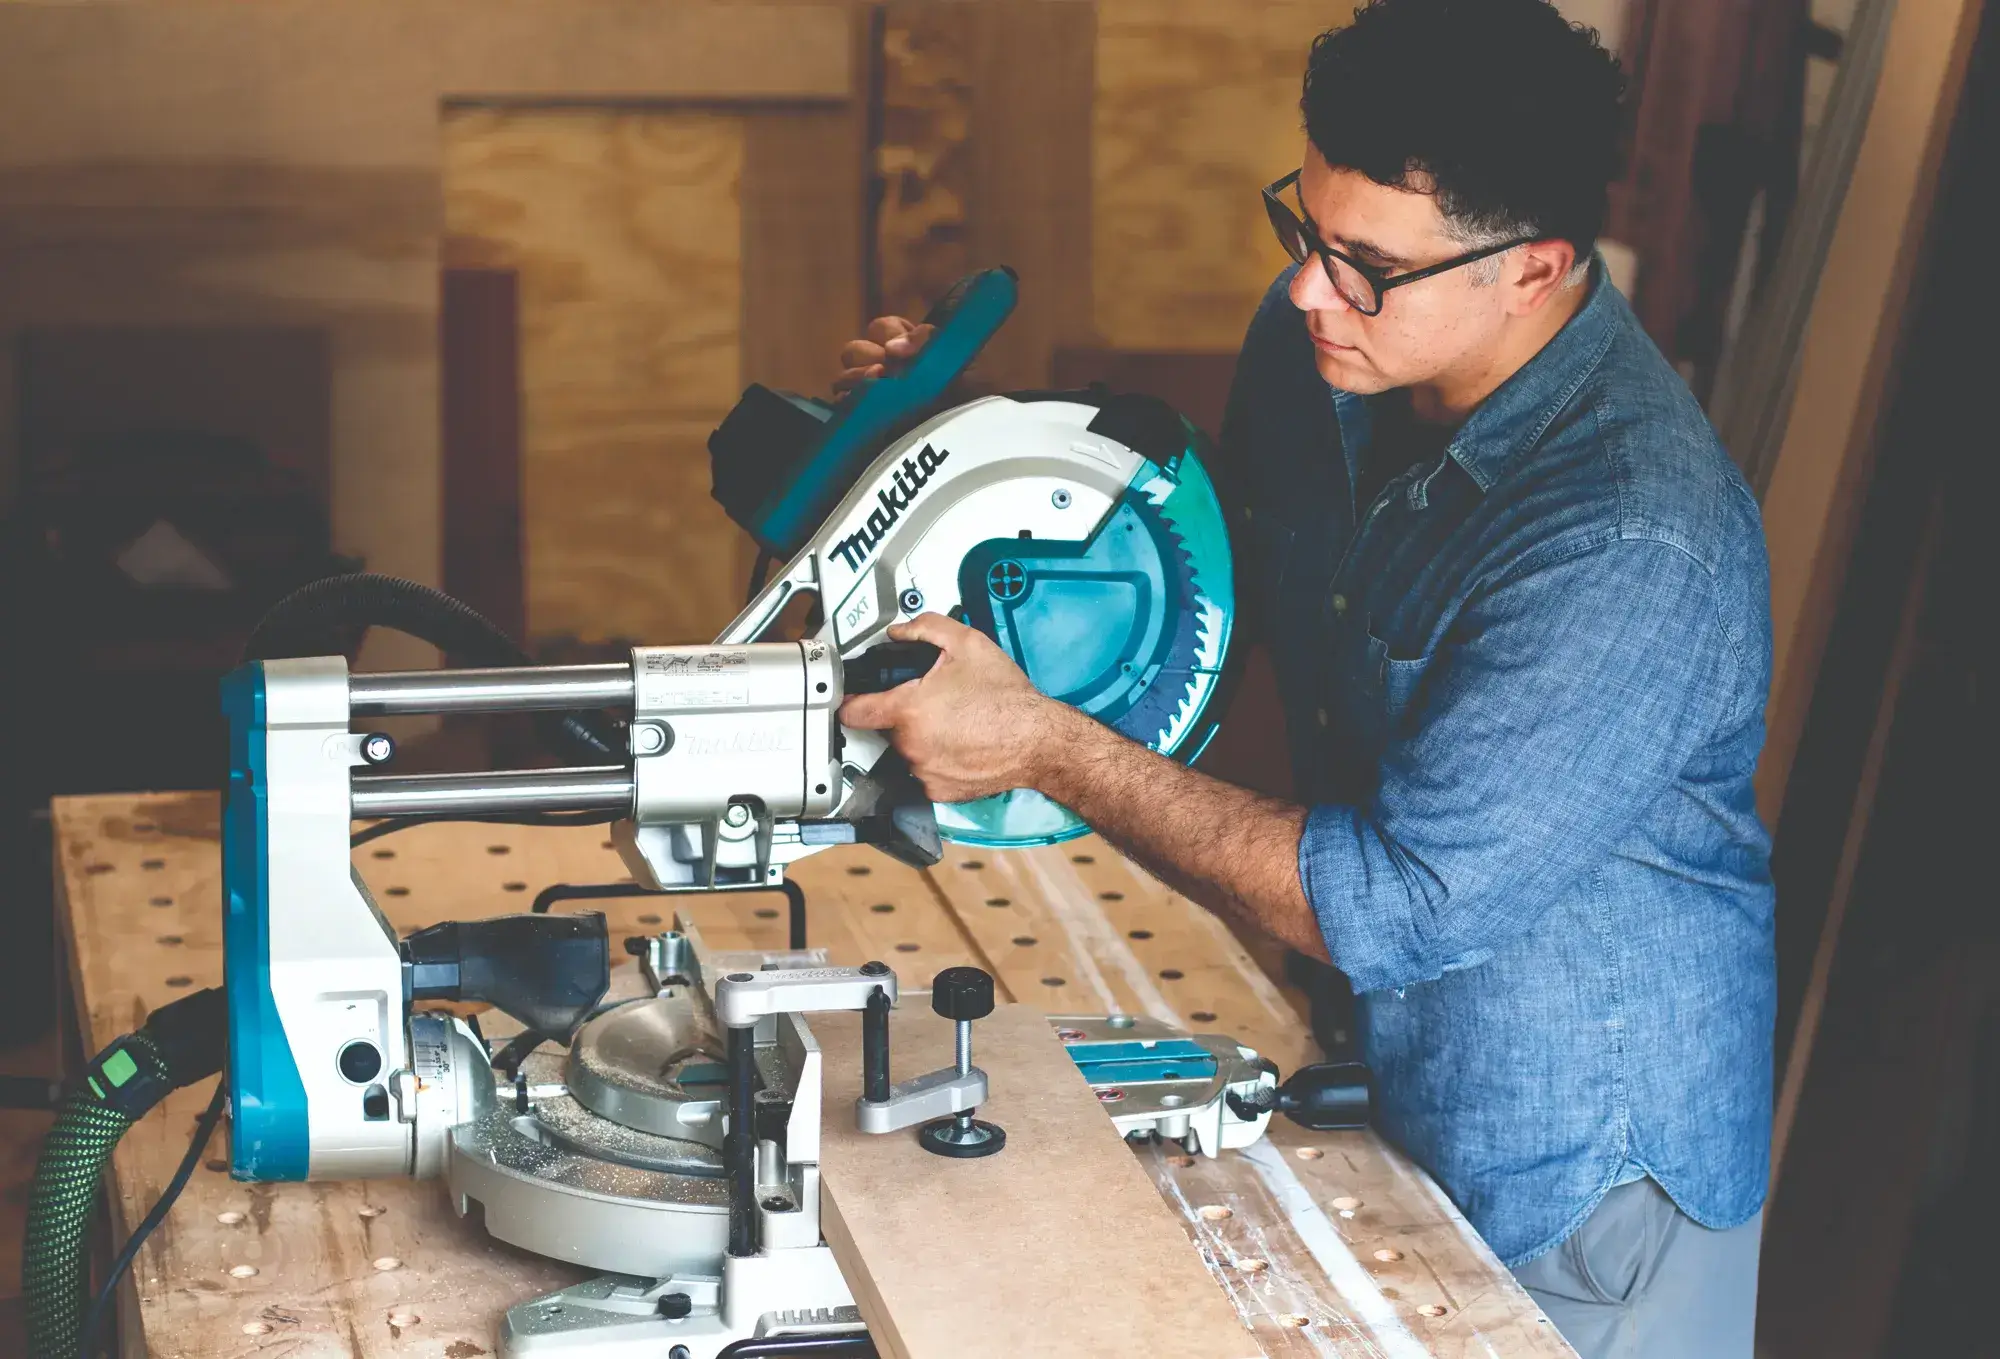
Compound Miter Saw
A compound miter saw is a step up from a basic miter saw. It can make crosscuts, miter cuts, and bevel cuts up to 45 degrees in one direction, usually to the left. Some models can tilt both ways, which are called dual-bevel compound miter saws. A compound miter saw can also make compound cuts, which are a combination of miter and bevel cuts. This allows you to create more complex and angled joints, such as for staircases, roofs, and furniture. However, a compound miter saw still has limited cutting capacity and cannot slide.
Sliding Miter Saw
A sliding miter saw is a more advanced and expensive type of miter saw. It can make crosscuts, miter cuts, bevel cuts, and compound cuts, just like a compound miter saw. However, it also has a sliding mechanism that allows the blade to move forward and backward along rails. This increases the cutting capacity and enables you to cut wider and thicker materials, such as large boards, panels, and logs. A sliding miter saw can be either single-bevel or dual-bevel, depending on whether it can tilt one way or both ways.
Cordless Miter Saw
A cordless miter saw is a battery-powered type of miter saw. It can have the same features and functions as a corded miter saw, such as basic, compound, or sliding. The main advantage of a cordless miter saw is its portability and convenience. You can use it anywhere, even in places where there is no electricity. You also don’t have to worry about cords getting in the way or causing accidents. However, a cordless miter saw has some drawbacks, such as lower power, shorter run time, and higher cost. You also need to have spare batteries and chargers on hand.
How to Choose the Right Miter Saw
Now that you know the different types of miter saws, how do you choose the right one for your projects? Here are some factors to consider:
Size: The size of a miter saw is determined by the size of the blade that it holds. The most common blade sizes are 10 inches and 12 inches, although there are also smaller and larger ones. The size of the blade affects the cutting capacity and the cost of the miter saw. Generally, a larger blade can cut wider and deeper materials, but it also costs more and requires more power. A smaller blade can cut faster and more accurately, but it has less cutting capacity and versatility. You should choose the blade size that matches the size of the materials that you usually work with.
Power: The power of a miter saw is measured by the amperage of the motor or the voltage of the battery. The power of the miter saw affects the speed, performance, and durability of the tool. Generally, a more powerful miter saw can cut faster, smoother, and harder materials, but it also consumes more energy and generates more noise and heat. A less powerful miter saw can cut slower, rougher, and softer materials, but it also saves energy and produces less noise and heat. You should choose the power that suits your project needs and preferences.
Capacity: The capacity of a miter saw is the maximum width and depth of the material that it can cut at a given angle. The capacity of the miter saw depends on the type, size, and features of the tool. Generally, a sliding miter saw has the highest cutting capacity, followed by a compound miter saw, and then a basic miter saw. A larger blade also increases the cutting capacity, as well as some features such as positive stops, detents, and extensions. You should choose the capacity that allows you to make the cuts that you need for your projects.
Features: The features of a miter saw are the additional functions and accessories that enhance the performance, accuracy, convenience, and safety of the tool. Some of the common features of a miter saw are:
- Positive stops: These are preset angles that allow you to quickly and accurately adjust the miter and bevel settings of the saw. They are usually marked by detents or indents on the scale. Some miter saws have more positive stops than others, which gives you more options and flexibility for making different cuts.
- Laser or LED guide: This is a light that projects a line or a shadow on the workpiece to show you where the blade will cut. It helps you align the blade and the material more precisely and easily. Some miter saws have a single or a dual laser or LED guide, which can be adjusted or turned on and off.
- Fence and table: These are the parts of the miter saw that support and hold the workpiece in place. The fence is the vertical part that is perpendicular to the blade, and the table is the horizontal part that is parallel to the blade. They help you keep the workpiece stable and secure while cutting. Some miter saws have taller, longer, or sliding fences and tables, which can accommodate larger or wider materials.
- Dust collection: This is a system that collects and removes the dust and debris that are produced by the cutting process. It usually consists of a dust bag, a dust port, and a hose that connects to a vacuum or a dust extractor. It helps you keep your workspace clean and your health protected from dust exposure. Some miter saws have more efficient and effective dust collection systems than others, which can capture more dust and debris.
- Safety features: These are the parts of the miter saw that prevent or reduce the risk of injury or damage while using the tool. They include a blade guard, a blade brake, a lock-off switch, and a lock pin. The blade guard is a cover that protects the blade and your fingers from contact. The blade brake is a mechanism that stops the blade from spinning when you release the trigger. The lock-off switch is a button that prevents the saw from starting accidentally. The lock pin is a device that locks the saw head in the down position for transport or storage.
Budget: The budget is the amount of money that you are willing or able to spend on a miter saw. The budget affects the type, size, power, capacity, and features of the miter saw that you can buy. Generally, a more expensive miter saw has more functions and capabilities, but it also requires more maintenance and care. A cheaper miter saw has fewer functions and capabilities, but it also saves you money and hassle. You should choose the budget that matches the value and quality of the miter saw that you need.
Tips and Recommendations
Here are some tips and recommendations on how to use and maintain your miter saw safely and efficiently:
Read the manual: Before using your miter saw, you should read the manual carefully and follow the instructions and warnings. The manual will tell you how to set up, operate, adjust, and store your miter saw properly. It will also tell you how to troubleshoot and fix any problems that may occur. You should keep the manual handy and refer to it whenever you have any questions or doubts.
Wear safety gear: When using your miter saw, you should wear safety gear to protect yourself from potential hazards. You should wear eye protection, ear protection, gloves, and a dust mask. You should also wear appropriate clothing and footwear that are not loose or dangling. You should avoid wearing jewelry, watches, or anything that can get caught in the saw. You should also tie back your hair if it is long.
Check the blade: Before using your miter saw, you should check the blade and make sure that it is sharp, clean, and in good condition. You should also make sure that it is the right type and size for the material that you are cutting.
Measure and mark: Before cutting your workpiece, you should measure and mark the length and angle that you want to cut. You should use a tape measure, a pencil, and a protractor or a speed square. You should also check the accuracy of your measurements and marks before proceeding to the next step.
Adjust the settings: After marking your workpiece, you should adjust the settings of your miter saw according to the type of cut that you want to make. You should set the miter angle, the bevel angle, and the depth of cut using the knobs, levers, and handles on the saw. You should also lock the settings in place and test the blade alignment with the mark on the workpiece.
Secure the workpiece: Once you have adjusted the settings, you should secure the workpiece on the fence and table of the miter saw. You should use clamps, supports, or extensions to hold the workpiece firmly and prevent it from moving or slipping while cutting. You should also make sure that the workpiece is flat and square with the blade and that there is enough clearance for the blade to pass through.
Make the cut: After securing the workpiece, you are ready to make the cut. You should plug in the saw or insert the battery, turn on the power switch, and press the trigger. You should then lower the blade slowly and smoothly into the workpiece, following the mark and the laser or LED guide. You should keep your hands and fingers away from the blade and the cutting area. You should also let the blade do the work and avoid forcing or twisting it. You should release the trigger and wait for the blade to stop before raising the blade and removing the workpiece.
Clean up and store: After making the cut, you should clean up and store your miter saw properly. You should unplug the saw or remove the battery, empty the dust bag or disconnect the hose, and wipe the saw with a cloth. You should also check the blade for any damage or wear and replace it if necessary. You should store the saw in a dry and cool place, away from children and pets. You should also cover the saw with a cloth or a case to protect it from dust and moisture.
Conclusion
A miter saw is a useful and powerful tool that can help you with various woodworking and DIY projects. However, choosing the right miter saw can be challenging, as there are many factors to consider. You need to think about the type, size, power, capacity, and features of the miter saw, as well as your budget, skill level, and project needs. You also need to know how to use and maintain your miter saw safely and efficiently. By following the tips and recommendations in this article, you can find the best miter saw for your projects and enjoy the benefits of this amazing tool.