
Trim is the decorative molding that frames windows, doors, and other architectural features of a room. It can add style and character to your home, but it also requires some maintenance and care. One of the most common questions that homeowners have about trim is how many coats of paint should go on it. The answer depends on several factors, such as the type and condition of the trim, the quality and color of the paint, and the desired finish and durability.
The General Rule of Thumb
The general rule of thumb is that you should apply at least two coats of paint on trim. This will ensure that the paint covers the surface evenly and hides any imperfections, such as nail holes, cracks, or stains. Two coats of paint will also provide a more consistent and uniform color, especially if you are painting over a darker or lighter shade. Additionally, two coats of paint will offer more protection and durability, as the paint will form a thicker and stronger layer that can resist wear and tear, moisture, and fading.
However, two coats of paint may not be enough in some cases. You may need to apply more coats of paint on trim if:
- You are painting over a glossy or oil-based paint. These types of paint are harder to adhere to and may require a primer or a light sanding before painting. A primer will create a smooth and even base for the paint to stick to, while a light sanding will roughen up the surface and improve the paint’s adhesion. You may need to apply three or more coats of paint on top of the primer or the sanded surface to achieve a flawless finish.
- You are painting over a dark or bright color. If you are changing the color of your trim from a dark or bright shade to a lighter or neutral one, you may need more coats of paint to cover the old color completely. Dark or bright colors tend to show through lighter or neutral ones, creating a patchy or uneven appearance. You may need to apply three or more coats of paint to achieve full coverage and opacity. Alternatively, you can use a tinted primer that matches the new color of your trim, which will reduce the number of coats of paint needed.
- You are painting with a low-quality or thin paint. Low-quality or thin paints tend to have less pigments and binders, which are the ingredients that give paint its color and durability. As a result, low-quality or thin paints may not cover the surface well and may require more coats of paint to achieve the desired color and finish. You may need to apply four or more coats of paint to get a satisfactory result. To avoid this problem, you should use a high-quality or thick paint that has more pigments and binders, which will provide better coverage and durability with fewer coats of paint.
The Benefits of Applying Multiple Coats of Paint on Trim
Applying multiple coats of paint on trim may seem like a tedious and time-consuming task, but it has several benefits that make it worth the effort. Some of the benefits of applying multiple coats of paint on trim are:
- It enhances the appearance and style of your trim. Multiple coats of paint will create a smooth and even surface that will highlight the details and features of your trim. Multiple coats of paint will also create a rich and vibrant color that will complement the rest of your room and enhance its overall look and feel.
- It improves the performance and longevity of your trim. Multiple coats of paint will form a thick and strong layer that will protect your trim from damage and deterioration. Multiple coats of paint will also resist moisture, mold, mildew, stains, scratches, dents, and fading, which can ruin the appearance and function of your trim. Multiple coats of paint will also make your trim easier to clean and maintain, as dirt and dust will not stick to the surface as easily.
- It saves you money and time in the long run. Multiple coats of paint will reduce the need for frequent repainting and repairs, which can be costly and time-consuming. Multiple coats of paint will also increase the value and appeal of your home, as your trim will look fresh and well-maintained for years to come.
The Best Way to Apply Multiple Coats of Paint on Trim
Applying multiple coats of paint on trim is not a difficult task, but it does require some preparation and patience. Here are some tips on how to apply multiple coats of paint on trim effectively and efficiently:
Prepare the trim and the surrounding area. Before painting, you should clean the trim and the surrounding area to remove any dirt, dust, grease, or grime that may interfere with the paint’s adhesion and quality. You should also repair any damages or defects on the trim, such as nail holes, cracks, or gaps, using wood filler or caulk. You should also protect the adjacent walls, floors, and furniture from paint splatters and drips, using painter’s tape, drop cloths, or plastic sheets.
Choose the right paint and tools. You should choose a high-quality paint that is suitable for trim, such as latex or acrylic paint. You should also choose a paint color that matches or contrasts with the rest of your room, depending on your preference and style. You should also choose the right tools for painting, such as brushes, rollers, or sprayers. You should use a small or medium-sized angled brush for painting the edges and corners of the trim, a small or medium-sized roller for painting the flat and wide surfaces of the trim, and a sprayer for painting large and complex areas of the trim. You should also use a paint tray, a paint stirrer, and a paint can opener for mixing and dispensing the paint.
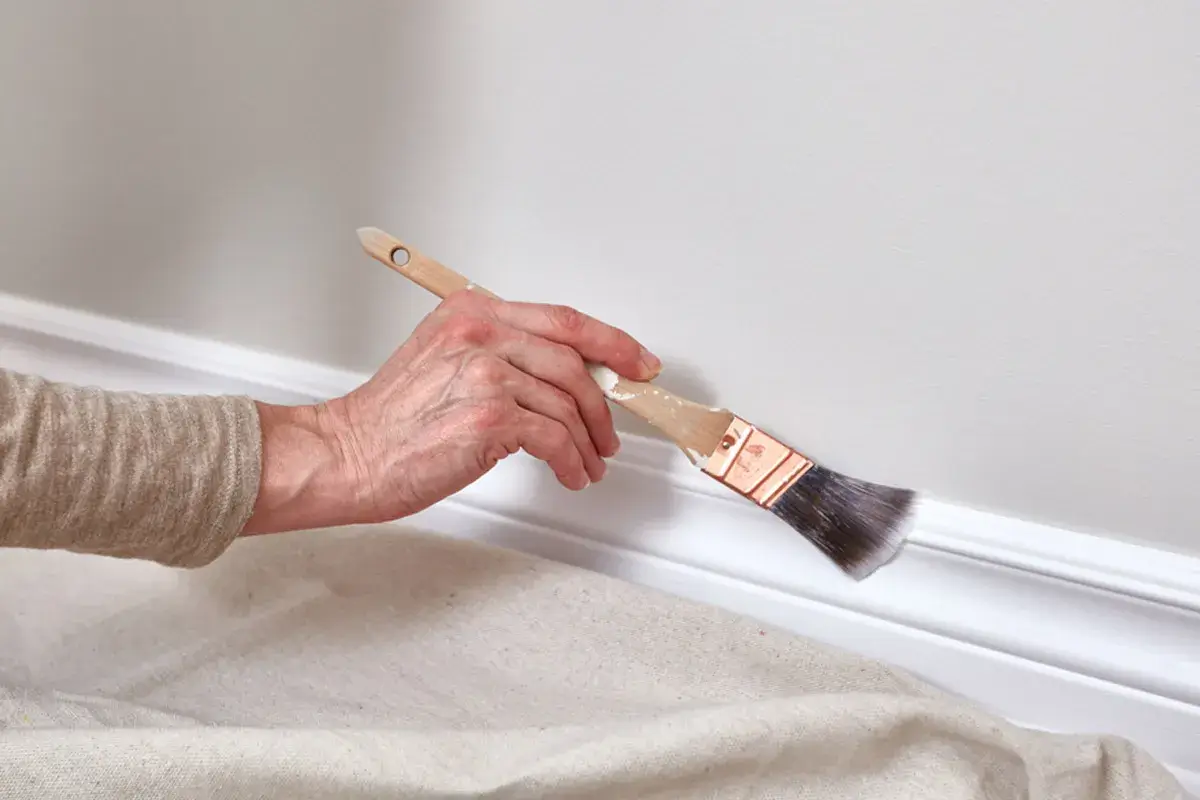
Apply the first coat of paint. You should start by applying the first coat of paint on the trim, following the direction of the wood grain. You should use a thin and even layer of paint, avoiding any drips, runs, or sags. You should also avoid overloading the brush or roller with paint, as this can create a messy and uneven finish. You should paint one section of the trim at a time, working from top to bottom and from left to right. You should also overlap the strokes slightly to blend the paint and prevent any visible lines or marks.
Let the first coat of paint dry. You should let the first coat of paint dry completely before applying the second coat of paint. The drying time may vary depending on the type and quality of the paint, the temperature and humidity of the room, and the thickness of the coat of paint. You should follow the manufacturer’s instructions on the paint can for the recommended drying time, which is usually between two to four hours. You should also check the paint’s tackiness by touching it lightly with your finger. If the paint feels sticky or wet, it is not dry enough and needs more time. If the paint feels dry and smooth, it is ready for the second coat of paint.
Apply the second coat of paint. You should apply the second coat of paint on the trim, following the same steps and techniques as the first coat of paint. You should use a thin and even layer of paint, covering the entire surface of the trim and hiding any imperfections or flaws. You should also pay attention to the edges and corners of the trim, making sure that they are well-coated and smooth. You should also check the color and finish of the paint, making sure that they are consistent and uniform throughout the trim.
Let the second coat of paint dry. You should let the second coat of paint dry completely before applying any additional coats of paint or removing the painter’s tape and drop cloths. The drying time may vary depending on the same factors as the first coat of paint, but it is usually longer and may take up to six hours or more. You should follow the manufacturer’s instructions on the paint can for the recommended drying time, and check the paint’s tackiness by touching it lightly with your finger. If the paint feels sticky or wet, it is not dry enough and needs more time. If the paint feels dry and smooth, it is ready for any additional coats of paint or the final touches.
Apply any additional coats of paint if needed. You should apply any additional coats of paint on the trim if you are not satisfied with the color, coverage, or finish of the paint after the second coat of paint. You should follow the same steps and techniques as the previous coats of paint, using a thin and even layer of paint and letting each coat of paint dry completely before applying the next one. You should also check the quality and appearance of the paint after each coat of paint, making sure that they meet your expectations and standards. You should not apply more than four coats of paint on the trim, as this can create a thick and heavy layer of paint that can crack, peel, or chip over time.
Remove the painter’s tape and drop cloths and clean up the area. You should remove the painter’s tape and drop cloths carefully and gently, making sure that you do not damage or peel off the paint on the trim or the adjacent walls, floors, and furniture. You should also clean up the area, disposing of any leftover paint, brushes, rollers, sprayers, trays, stirrers, and can openers properly and safely. You should also wipe off any paint splatters or drips on the trim or the surrounding surfaces, using a damp cloth or a sponge and some mild soap and water. You should also ventilate the room, opening the windows and doors and using a fan or an air conditioner to circulate the air and remove any paint fumes or odors.
Conclusion
Trim is an important and attractive element of your home, but it also requires some attention and care. Painting your trim can refresh and revitalize its appearance and performance